文 | 杨小爱
写在前面
今天这个练习是通过目前比较流行的一个CSS框架Tailwind CSS来实现的,如果你之前有使用其他CSS框架经验的话,比如,有使用过Bootstrap,那今天你来使用这个Tailwind CSS也不什么难事。
如果你是初学者,还没有接触到一些CSS框架的学习,也没有关系,慢慢来,因为我之前也没有使用Tailwind CSS,也是从头开始学习Tailwind CSS的使用。
关于什么是Tailwind CSS,这个网络上有很多它的介绍,这里我就不赘述了,它目前在国外还是比较热门的一个CSS框架,也有很多用Tailwind CSS写的网站模板。
因此,我们今天通过一个练习来学习了解一下它。
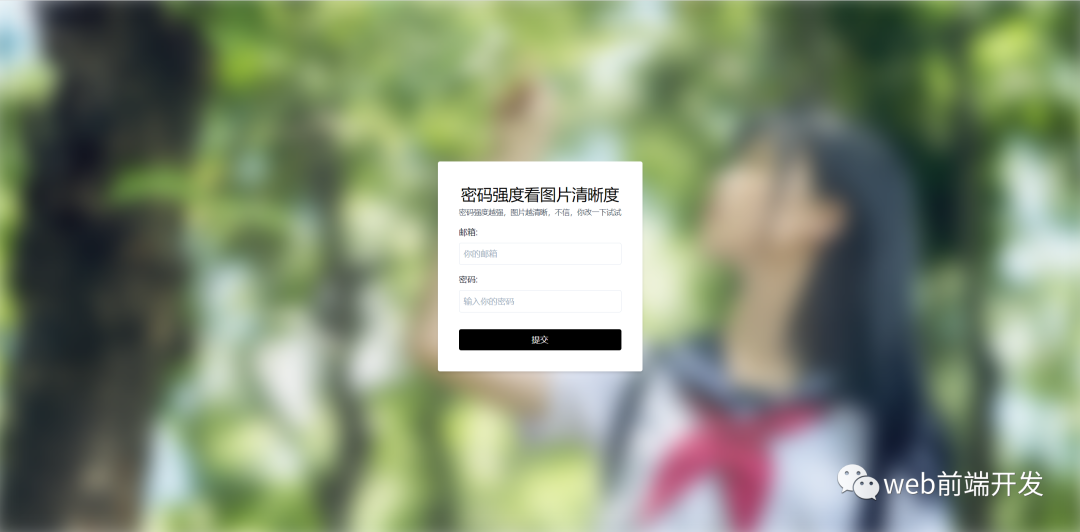
现在,我们先来看一下今天的练习效果:

初始状态下,图片是模糊不清的。

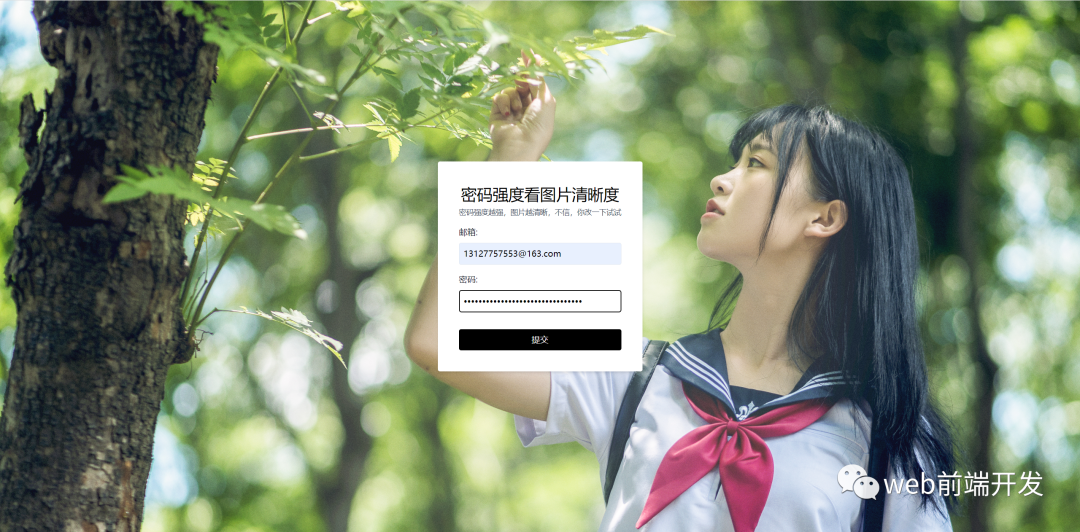
输入密码后的效果
当我们在密码框中输入密码后,密码长度越长,图片也就越清晰,当达到一定值后,图片就完全清晰可见了。
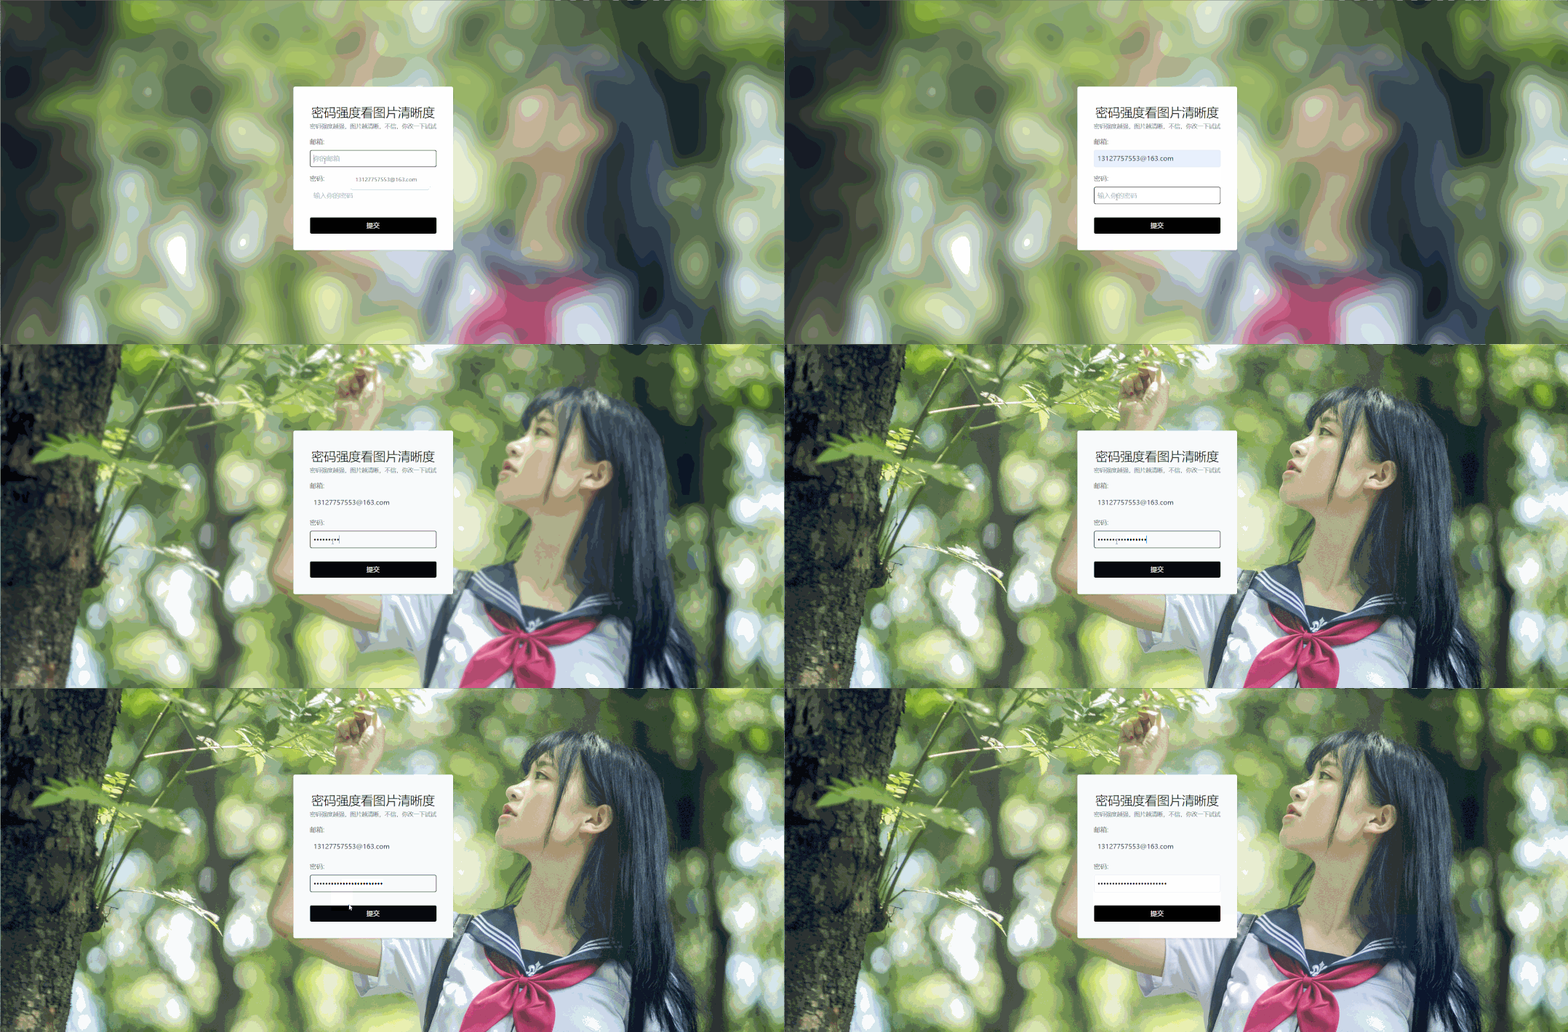
当然,我也做了一个gif的动图效果,这个色彩不是很好,大家就看一下过程变化就好了。
如果想要自行尝试一下的话,请自行把文章中的源码在本地试一遍。

gif动图看过程效果
<html><head><meta charset="UTF-8" /><meta name="viewport" content="width=device-width, initial-scale=1.0" /><!-- 引入 CDN tailwind CSS --><link rel="stylesheet" href="https://cdnjs.cloudflare.com/ajax/libs/tailwindcss/1.8.11/tailwind.min.css" crossorigin="anonymous"/><!-- 手写 CSS 文件 link--><link rel="stylesheet" href="style.css" /><title>【每日一练】104—Tailwind CSS实现一款修改密码强度即可查看图片清晰度的效果</title></head><body><div class="background" id="background"></div><div class="bg-white rounded p-10 text-center shadow-md"><h1 class="text-3xl">密码强度看图片清晰度</h1><p class="text-sm text-gray-700">密码强度越强,图片越清晰,不信,你改一下试试</p><div class="my-4 text-left"><label for="email" class="text-gray-900">邮箱:</label><input type="text" class="border block w-full p-2 mt-2 rounded" id="email" placeholder="你的邮箱" /></div><div class="my-4 text-left"><label for="email" class="text-gray-900">密码:</label><input type="password" class="border block w-full p-2 mt-2 rounded" id="password" placeholder="输入你的密码" /></div><button class="bg-black text-white py-2 mt-4 inline-block w-full rounded" type="submit" >提交</button></div><!-- JS link --><script src="script.js"></script></body></html>
* {box-sizing: border-box;}body {display: flex;flex-direction: column;align-items: center;justify-content: center;height: 100vh;overflow: hidden;margin: 0;}.background {background: url('01.jpg')no-repeat center center/cover;position: absolute;top: -20px;bottom: -20px;left: -20px;right: -20px;z-index: -1;filter: blur(20px);}
JS代码:
const password = document.getElementById('password')const background = document.getElementById('background')password.addEventListener('input', (e) => {const input = e.target.valueconst length = input.lengthconst blurValue = 20 - length * 2background.style.filter = `blur(${blurValue}px)`})
写在最后
今天的【每日一练】就到这里了,后面,我会跟大家分享关于单页网站的练习,请大家继续关注【每日一练】的更新内容。
最后,希望今天的小练习对你有用,如果你觉得有帮助的话,请点赞我,关注我,并将它分享给你身边做开发的朋友,也许能够帮助到他。
我是杨小爱,我们明天见。
推荐阅读
web前端开发的视频
,赞 7
学习更多技能
请点击下方公众号

